Installing Google Chrome on Ubuntu

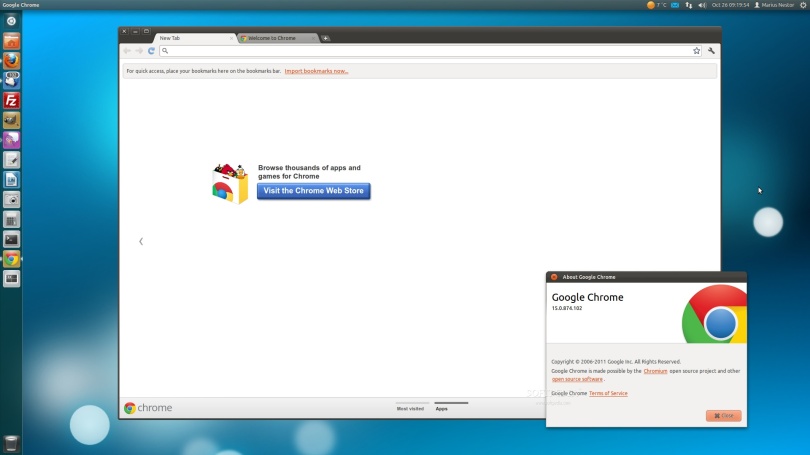
Howdy, folks? Today I am going to discuss about the installation of google chrome on Ubuntu. As all of you already know, Mozilla firefox is the default browser that comes bundled with ubuntu. However, sometimes, it doesnt really make the cut. That’s where google chrome comes in handy. I mostly prefer it due to some extensions that are available for the chrome platform only.

There are several processes to install google chrome on your system. I am going to walk you through all of those.

  1. Installing via official package.

This method does not require any internet  connection. However, you need to have a copy of the google chrome debian package that you can download from here. After you have downloaded the package, copy it to your home directory, and open a terminal, and type in

$ ls

you will get an output like:

Desktop    examples.desktop                        Pictures   Videos
Documents  google-chrome-stable_current_amd64.deb  Public
Downloads  Music                                   Templates

Now, from here, you know that the package name is “google-chome-stable_current_amd64.deb“. It depends on architecture of your system. Next, type in:

$ sudo dpkg -i google-chrome-stable_current_amd64.deb
$ [sudo] password for youraccount: _

Now, type your password, hit enter, and let install begin.
Error Message:

By using this method, almost 99 times of 100 throws an error, saying errors were encountered. You can open google chrome, but without icon. To fix this,  hit in your terminal:

$ sudo apt-get install -f

This will install the incomplete binaries and installation will complete

2. Installing via PPA:

In this method, we type commands on a terminal, and let the install begin. However, this requires a working internet connection.

$ wget -q -O - https://dl-ssl.google.com/linux/linux_signing_key.pub | sudo apt-key add -
$ sudo sh -c 'echo "deb https://dl.google.com/linux/chrome/deb/ stable main" >> /etc/apt/sources.list.d/google-chrome.list'
$ sudo apt-get update
$ sudo apt-get install google-chrome-stable

This will do the job. Enjoy your shiny new chrome! 🙂
Creating Wifi On Ubuntu

download
Share Internet connection on Ubuntu via Wifi

Hello, folks! Today we are going to discuss about how to share your internet connection via wifi on Ubuntu. There are plenty of tools on Ubuntu to do the task, as a matter of fact, you can use Ubuntu’s own Network manager to do the job, but the wifi connection does not show up on smartphones, and other devices.

I have used many such tools, and got stuck more than just a few times, and with the solid “host_ap” library out of date and not being maintained anymore, the pains have worsened. However, the developers on Oblique – GitHub, have created yet, another library to do the job, and it works flawlessly! The name? It’s Create_ap.


Installation

The installation is fairly simple, you can just download the repo as a zip file or clone the repo. For simple usage, we will discuss about the cloning first.

Fire up your terminal using Ctrl+Alt+T, and then type in the following:

sudo apt-get install hostapd
git clone https://www.github.com/oblique/create_ap && cd create_ap && make install

What this is going to do is that it is going to install the hostapd package, that prevents low latency over the network and then clone into create_ap git, download it, and install it. After the installation, the script can be used by typing in the terminal:

sudo create_ap

Now, the program throws an error, don’t worry, this is to be expected, as you have not set up the parameters for the new wireless connection. Simply configure your wifi as:

sudo create_ap interfacewithInternet wirelessInterface networkName Password

For an example, I have internet access on my eth0 network, and my wireless interface is wlan0, I want the name of my network to be “ubuntuGuide” and the password as “12345678” so,

create_ap eth0 wlan0 ubuntuGuide 12345678

This will create a wireless network, that shares internet on my eth network.

Error Handling:

Sometimes, create_ap throws an error, saying that operation is  not possible due to rfkill. In such case, fire up the terminal and type in:

nmcli nm wifi off
rfkill unblock wlan
sudo create_ap eth0 wlan0 ubuntuGuide 12345678

This should do the job.